
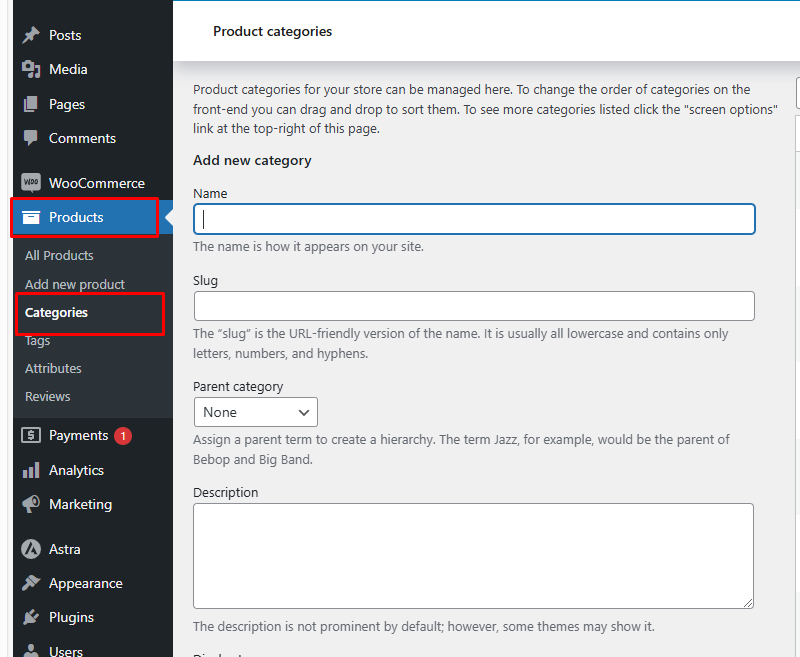
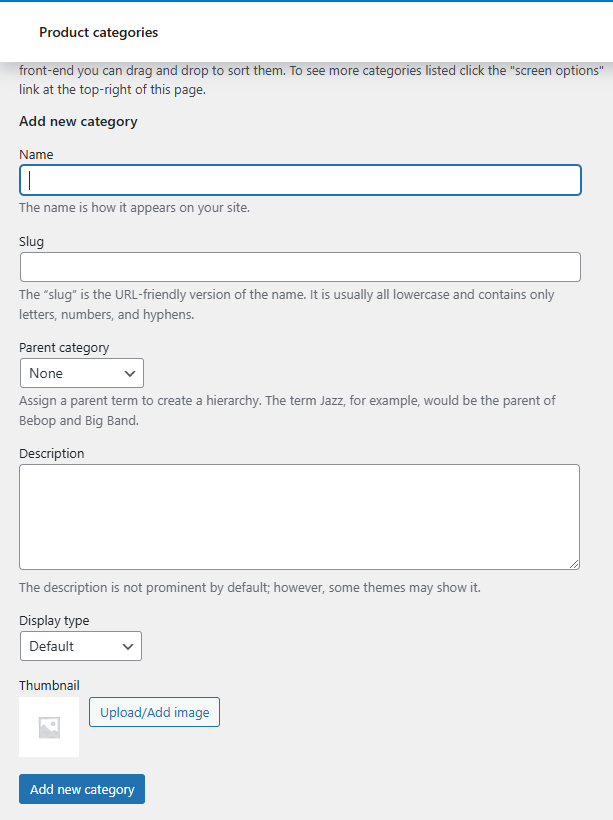
1. How to Manage Categories
Categories organize products into manageable groups; this makes the work of finding products by customers quite easy.
- Go to: Products > Categories in the WooCommerce dashboard.
- Add New Category: Add the Category Name and optional Slug, Parent Category (for subcategories), and Thumbnail image.
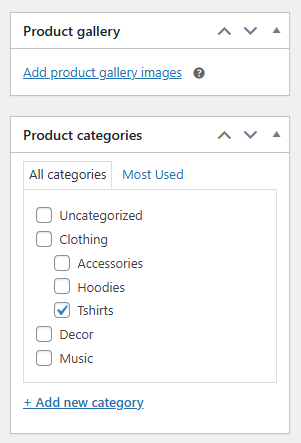
- Assign Products: When creating or editing a product, assign it to relevant categories under the Product Categories section.
2. Managing Simple Products
Simple products are individual, standalone items without variations.
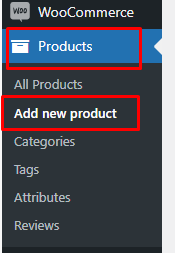
- Go to: Products > Add new product.
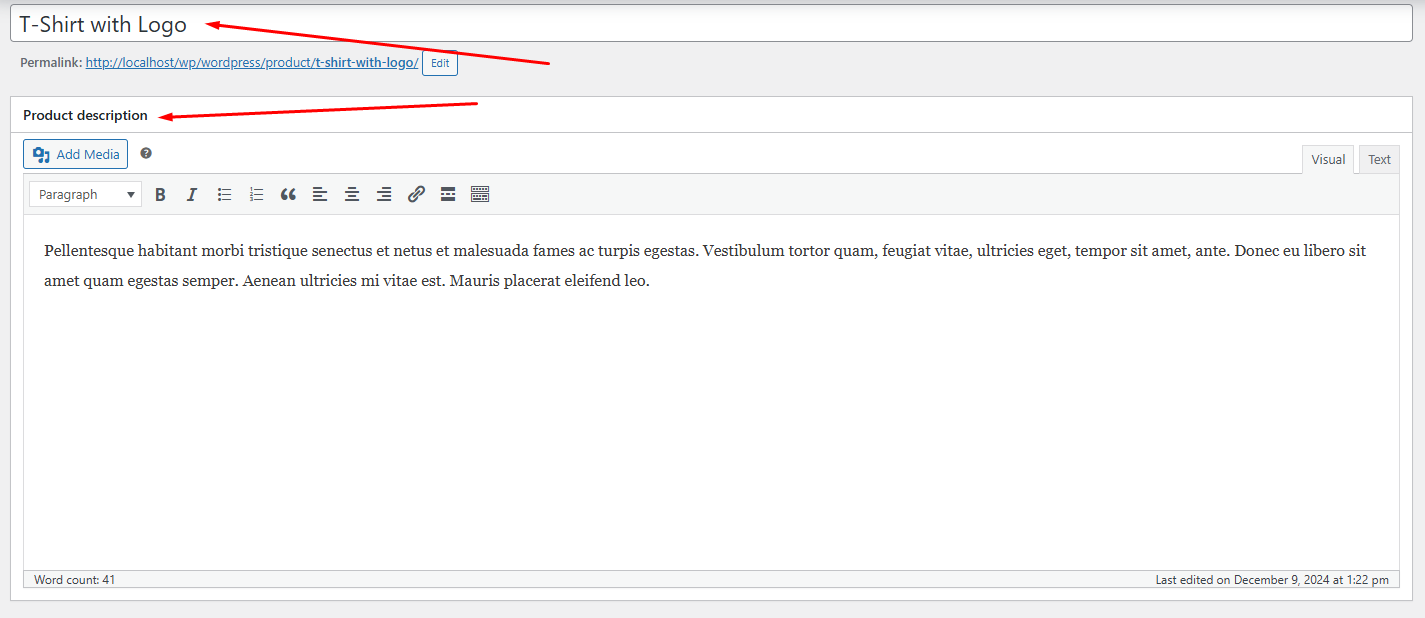
- Enter Product Information: Fill in the Product Name and Description.
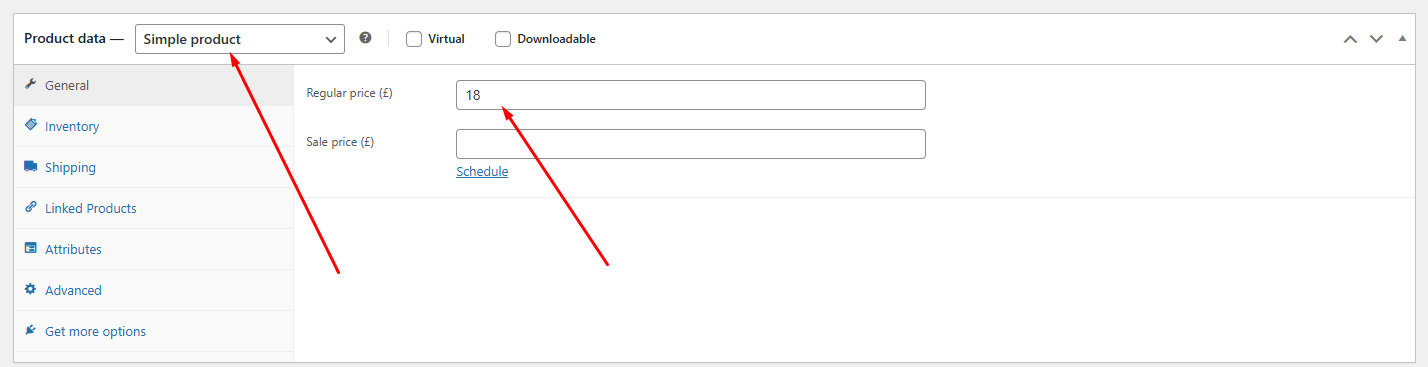
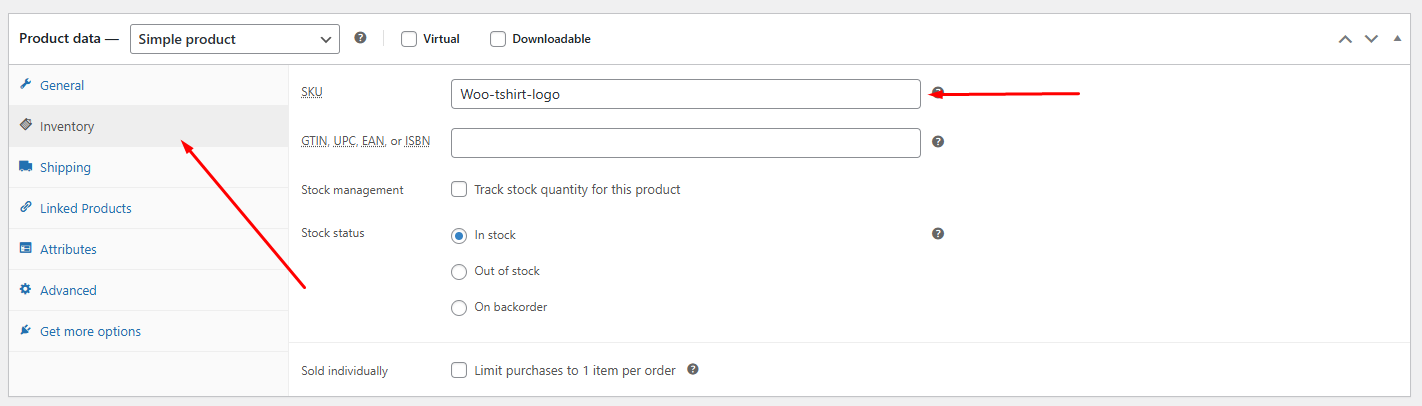
- Set Product Data: In the Product Data section, select Simple Product, then enter the Price, SKU, and Stock Status.
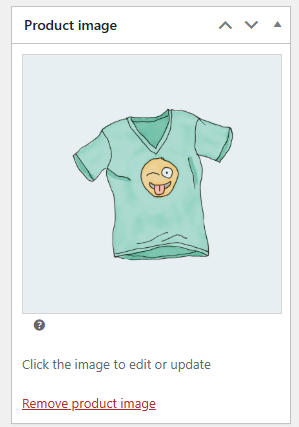
- Set Product Image and Gallery: Add an image and additional gallery images.
- Publish: Once all details are added, click Publish.
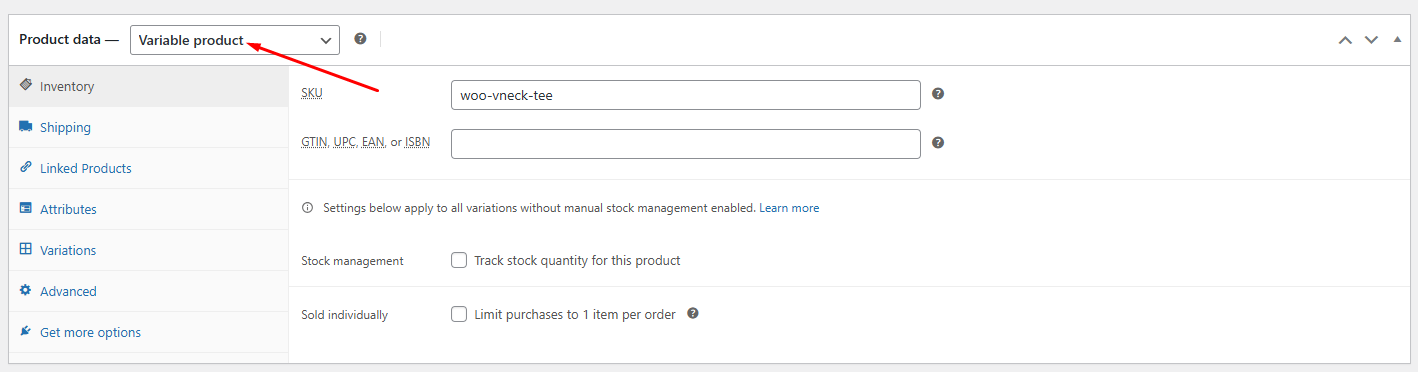
3. Managing Variable Products
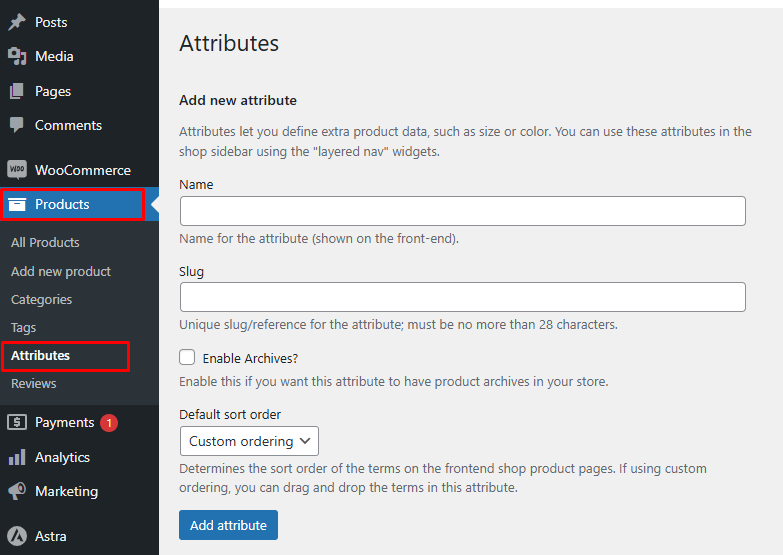
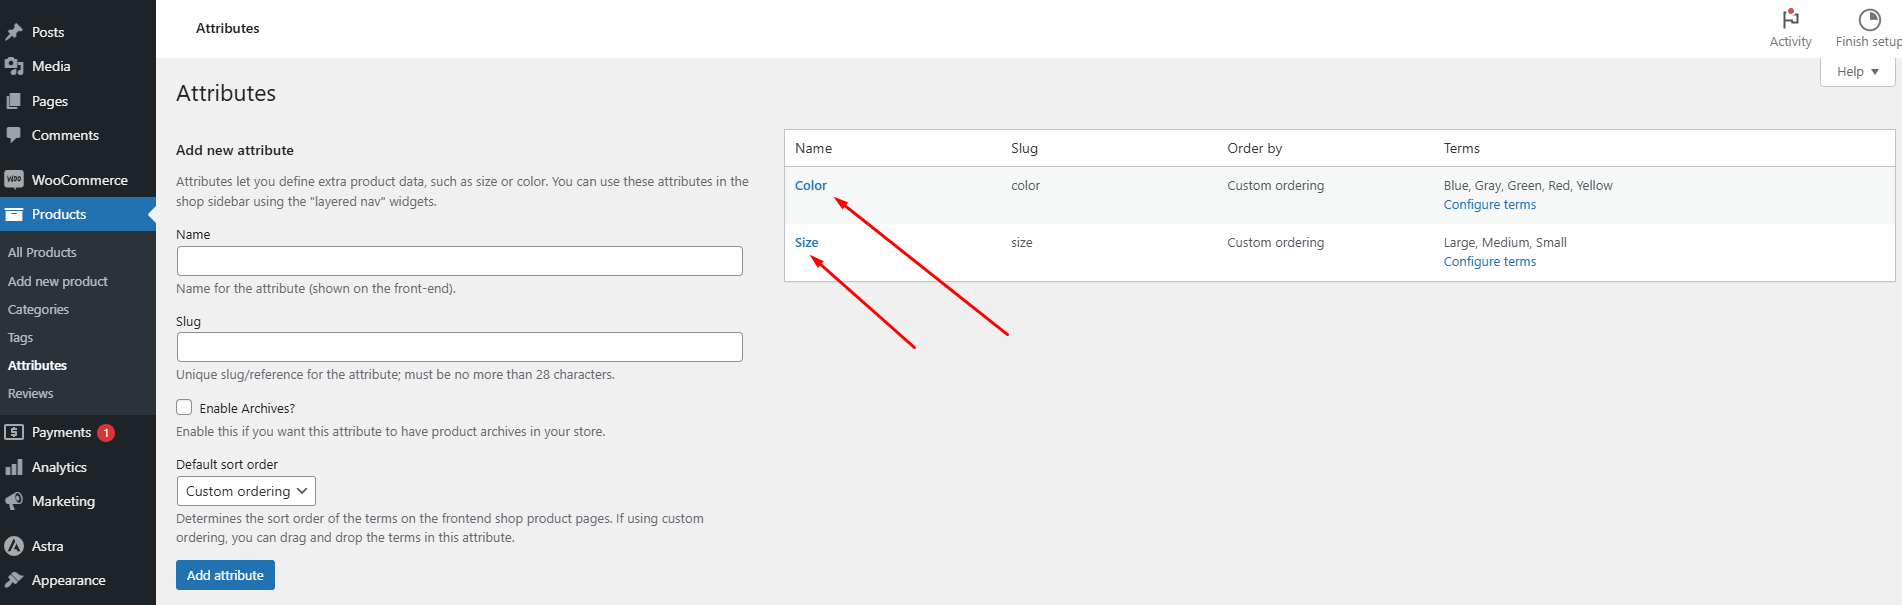
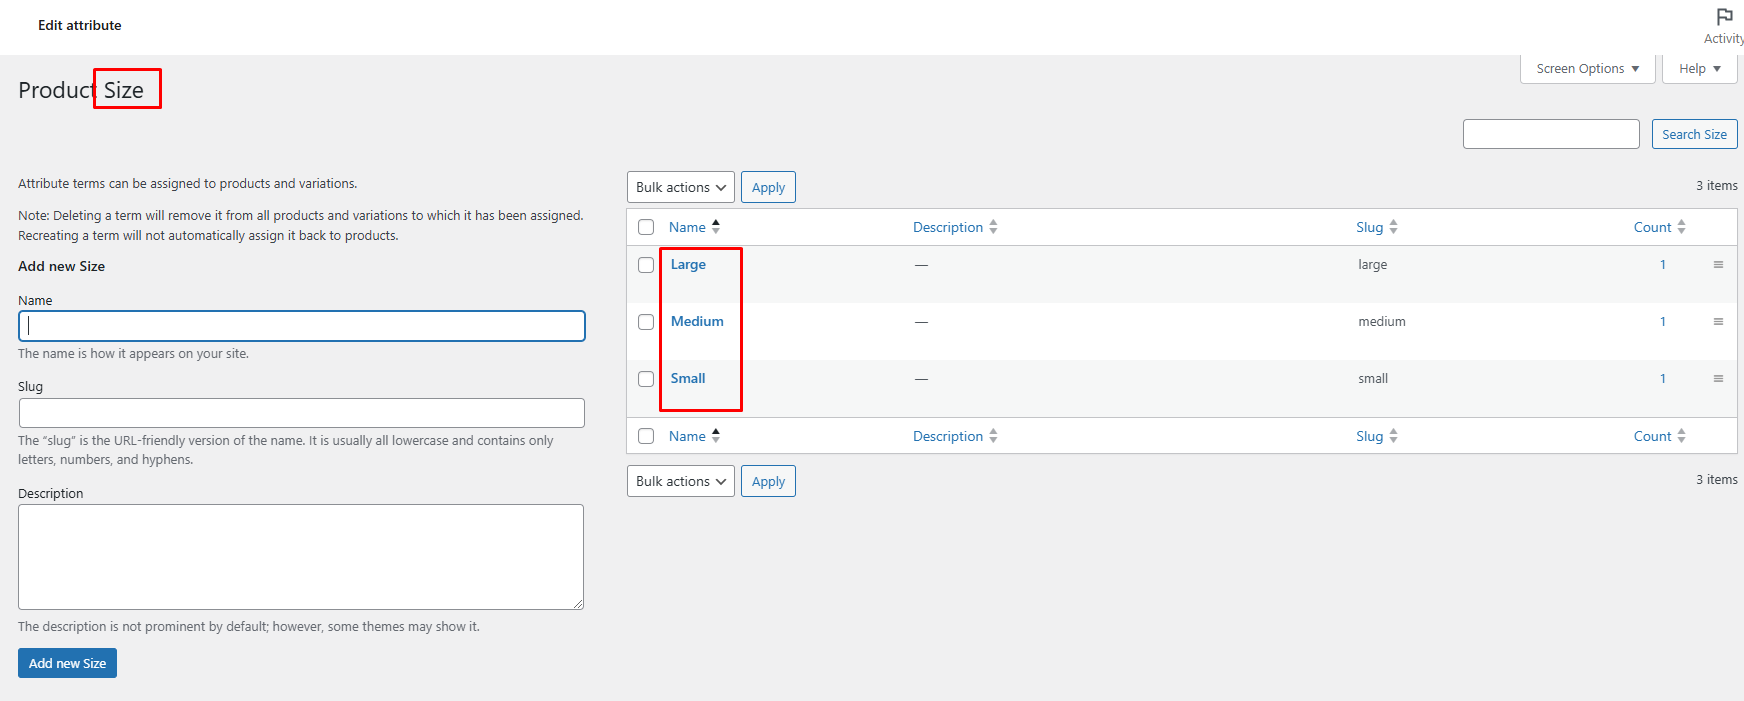
With variable products, it’s possible to allow the customers to select different options – size and color for example – to vary pricing accordingly. At first, create the attributes. Go to Products > Attributes. Add an attribute (ex. Size) and select options (Small, Medium, Large).
- Create Variable Product:
- Go to Products > Add new product.
- Within the Product Data section, select Variable Product.

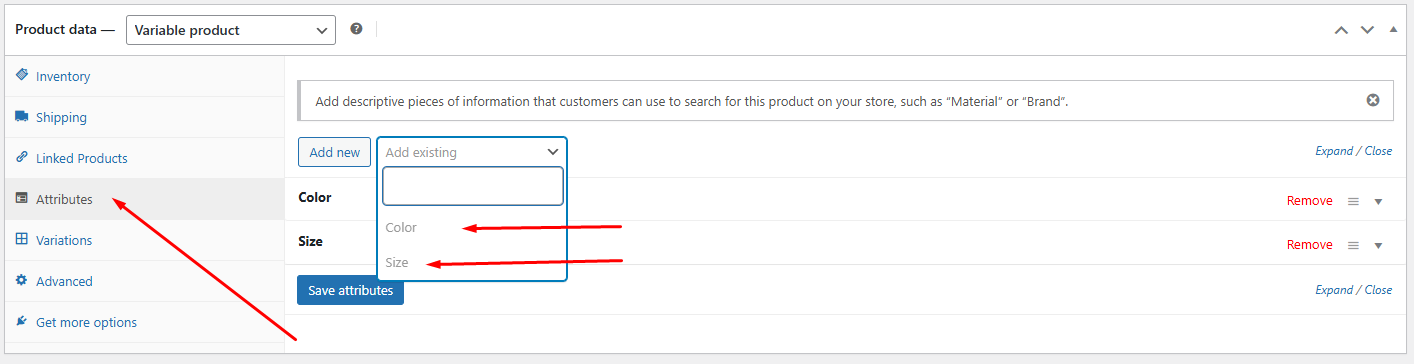
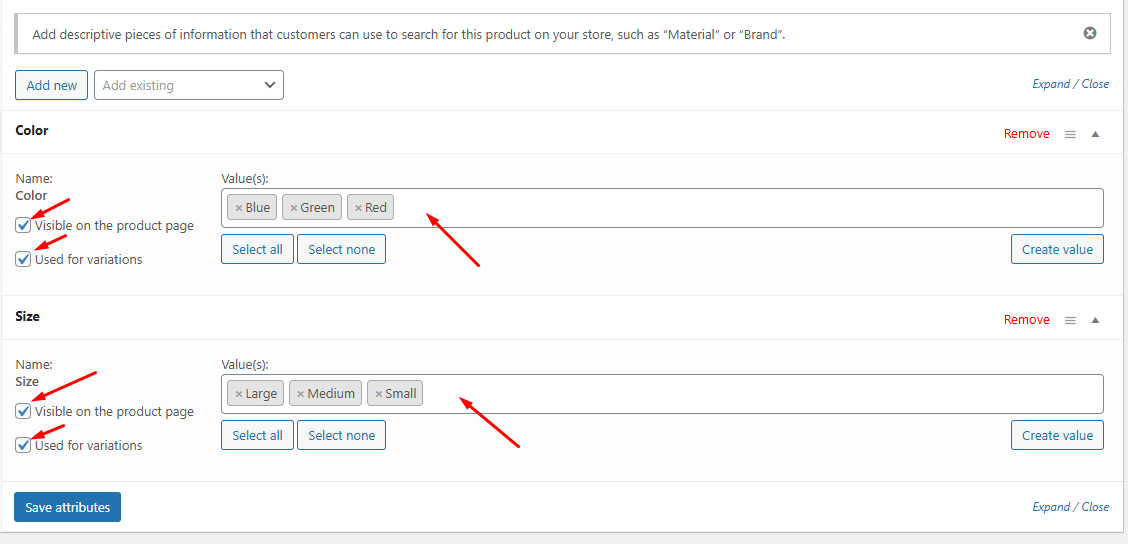
- Add Attributes:
- In the Attributes tab, select the attribute (ex. Size) and enable Used for variations.
- Click Save Attributes.


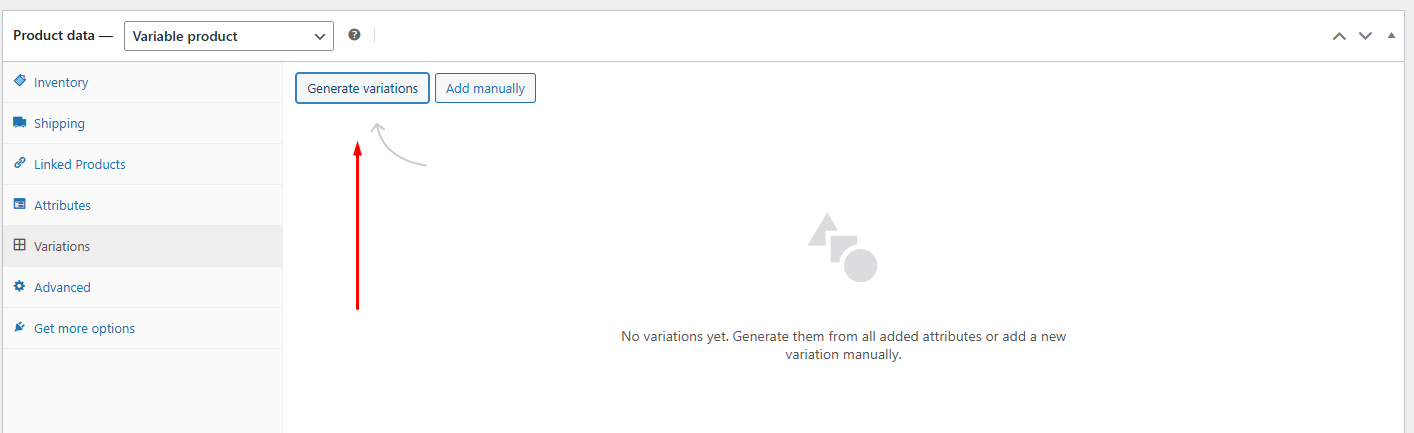
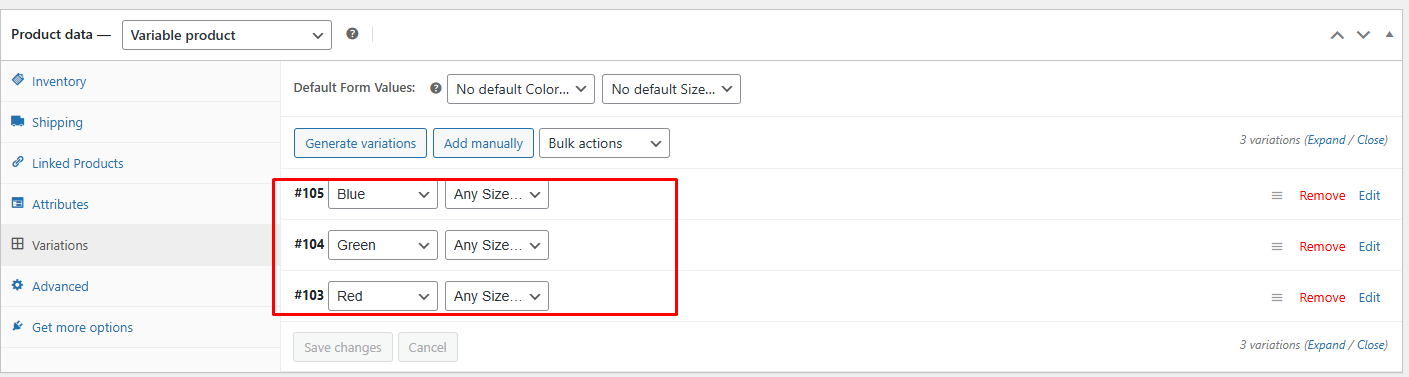
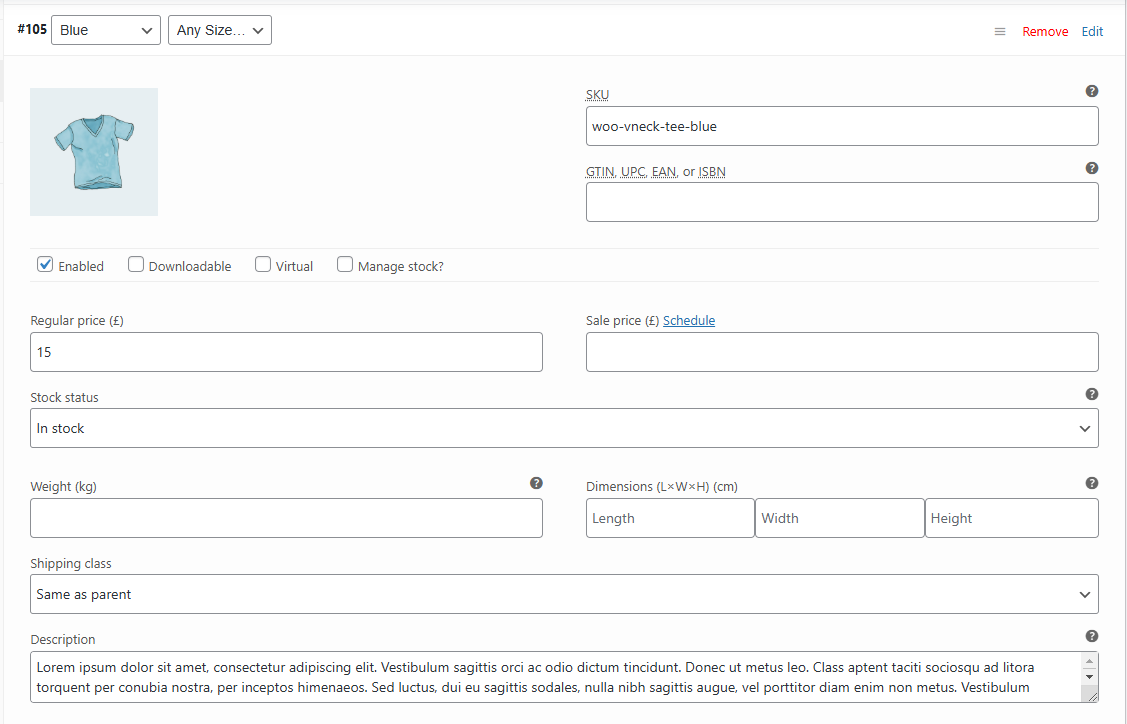
- Add Variations:
- Click the Variations tab, then click Generate variations.
- From here, set a price, SKU, stock status, and imagesfor each variation.


- Publish:Once the product variations have been set up, click Publish to publish the product.