
If you are running an e-store on WooCommerce, having a payment gateway of PayPal is important. It is globally recognized, as well as a trusted source for safe payments among customers. In this post, we will be walking you through creating a PayPal account and how to connect it with your WooCommerce store.
Benefits and Features of PayPal for WooCommerce
WooCommerce PayPal offers an internationally accepted, easy, and secure payment gateway with various features to enhance your store. It is perfect for business growth because it has international support, support for multiple currencies, and different kinds of payments.
With advanced fraud protection, SSL encryption, two-factor authentication, and safe transactions, PayPal does ensure all that. You will have competitive pricing in addition to 24/7 customer support without a setup or monthly fee.
Here are a few of the benefits which you get with the help of PayPal for WooCommerce
International Reach- PayPal is accepted in over 200 countries. Rest assured, it does provide very good support for multiple currencies, making it fit for international businesses.
Easy Checkout: It offers a simple checkout option, and supports all possible payment options including Credit and Debit cards, bank transfers, and PayPal’s digital wallet.
Secure payment gateways: PayPal makes your transactions quite safe and secure with advanced fraud protection features, SSL encryption, and two-factor authentication.
Reliable customer support: PayPal has a team working for you 24/7.
Competitive pricing: Without setup or monthly charges, with PayPal you save money in your pocket for the payment processing.
Creating a PayPal Sandbox Account: Pre-Integration
The PayPal Sandbox account is a utility that avails you a great and secure virtual environment in which to play with the operation of the payment gateway. More so needed for WooCommerce online stores that just uploaded inventory and installed a WooCommerce compatible payment gateways that just been tested.
Let’s take an in-depth step-by-step look at how to get your PayPal Sandbox account running and integrated into your WooCommerce store.
Login to the PayPal Developer Website
Open the PayPal developer website.
Click the Login button.

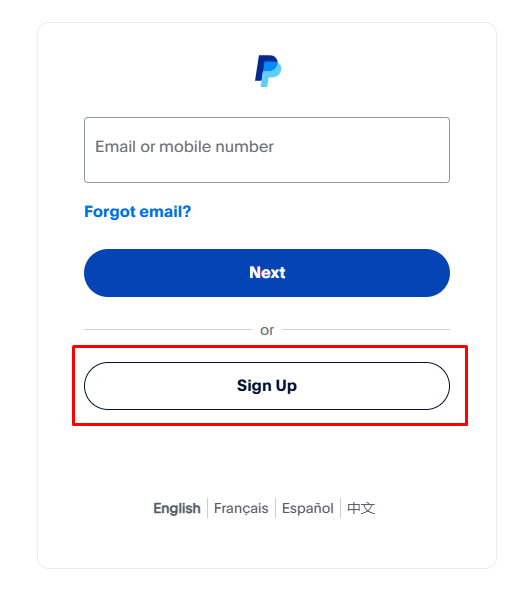
You can create a new PayPal account or you can sign in if you have an existing one.
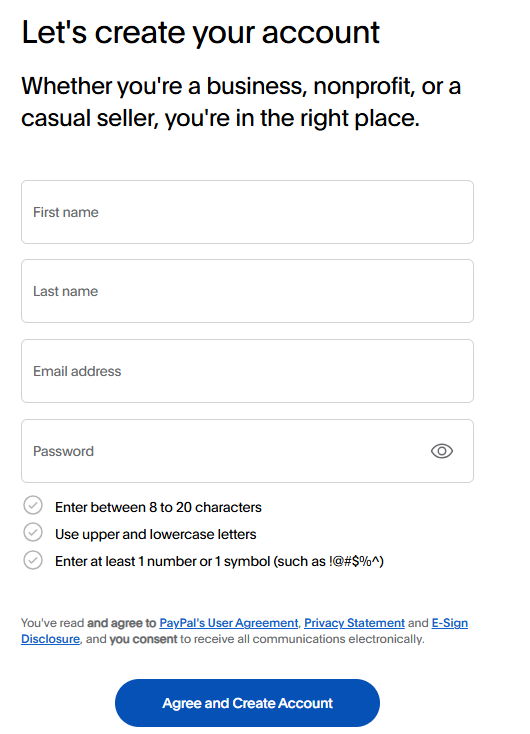
PayPal sign up
Select Account Type
Personal Account: For personal transactions (sending money to family/friends, online shopping).
Business Account: For e-commerce and businesses to accept payments.
Click “Get Started”: Follow the prompts to create your account.
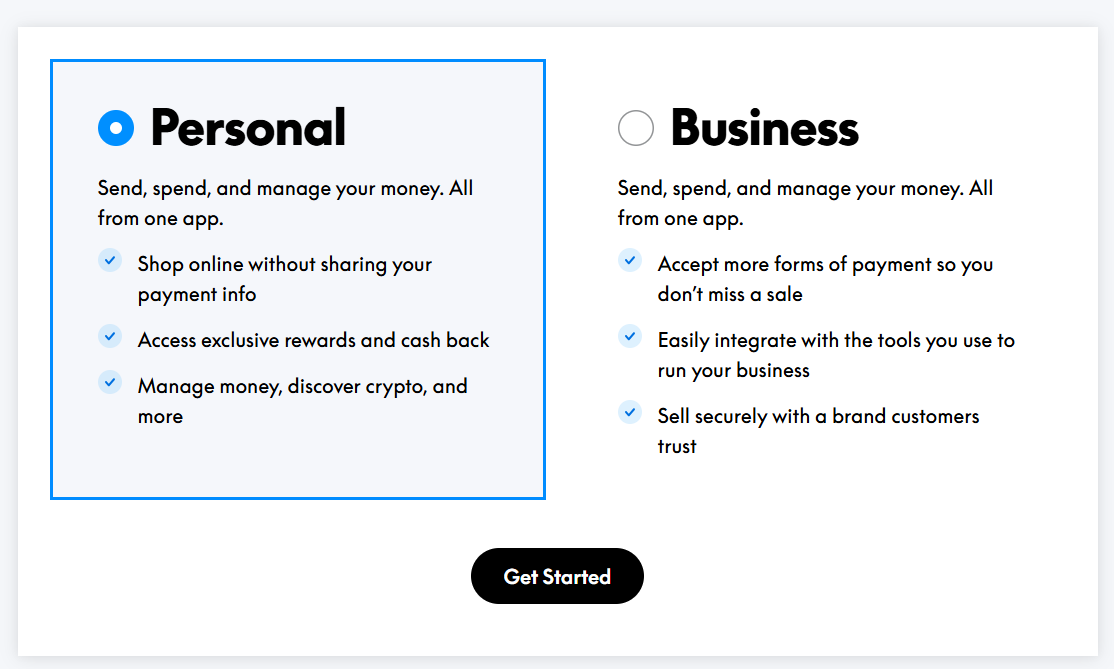
Enter Your Details: Provide your email address, create a password, and fill out your contact details.
PayPal developer dashboard
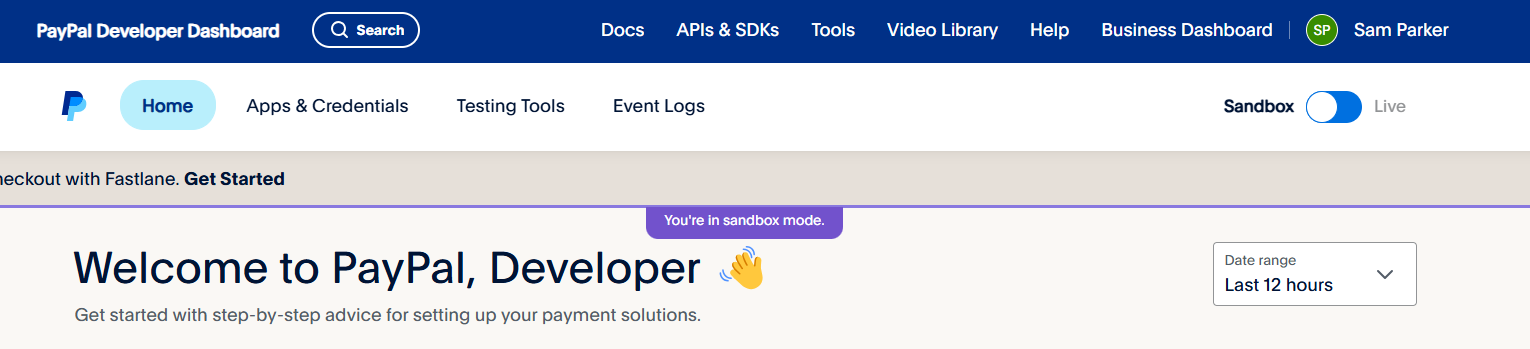
That is it. You have now set up your PayPal sandbox account. The next big step will involve connecting PayPal with the WooCommerce store.
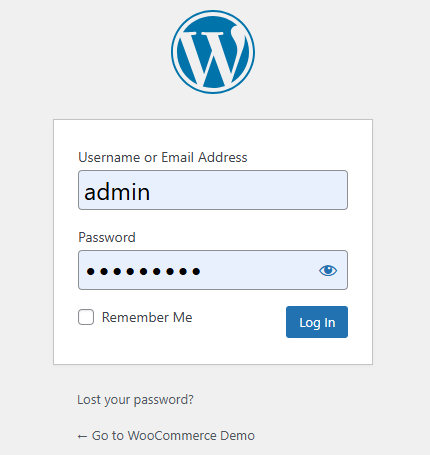
Log in to access your WooCommerce store.
Now that your WooCommerce store is up and running, let’s go on to adding a PayPal payment plugin into it.
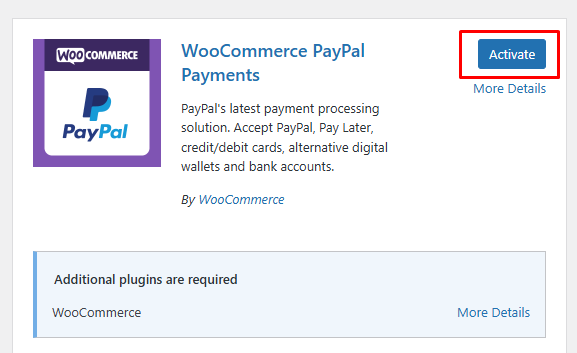
Go to the left side of your WordPress dashboard and click “Plugins”
Click “Add New Plugin” and, in the search box, type in “WooCommerce PayPal Payments”
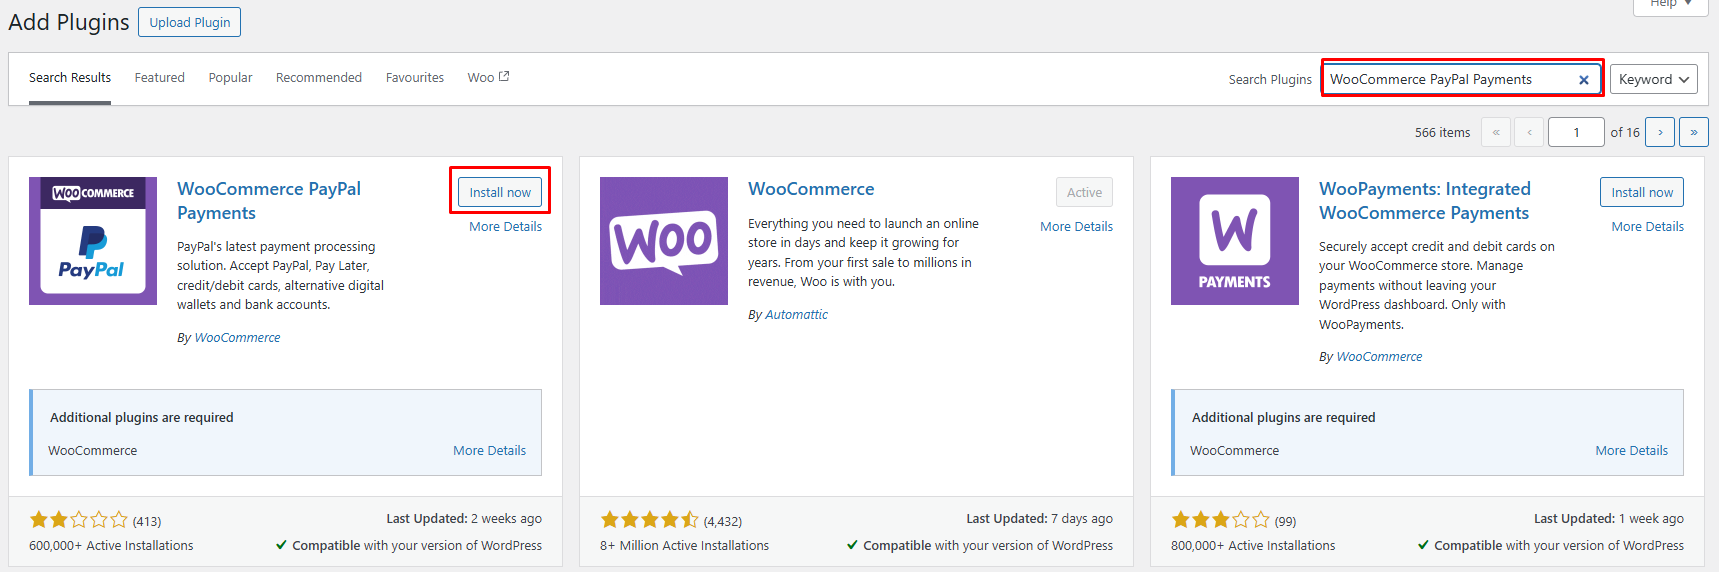
Look for it, then click “Install Now”
After installation, click “Activate” to activate this plugin.
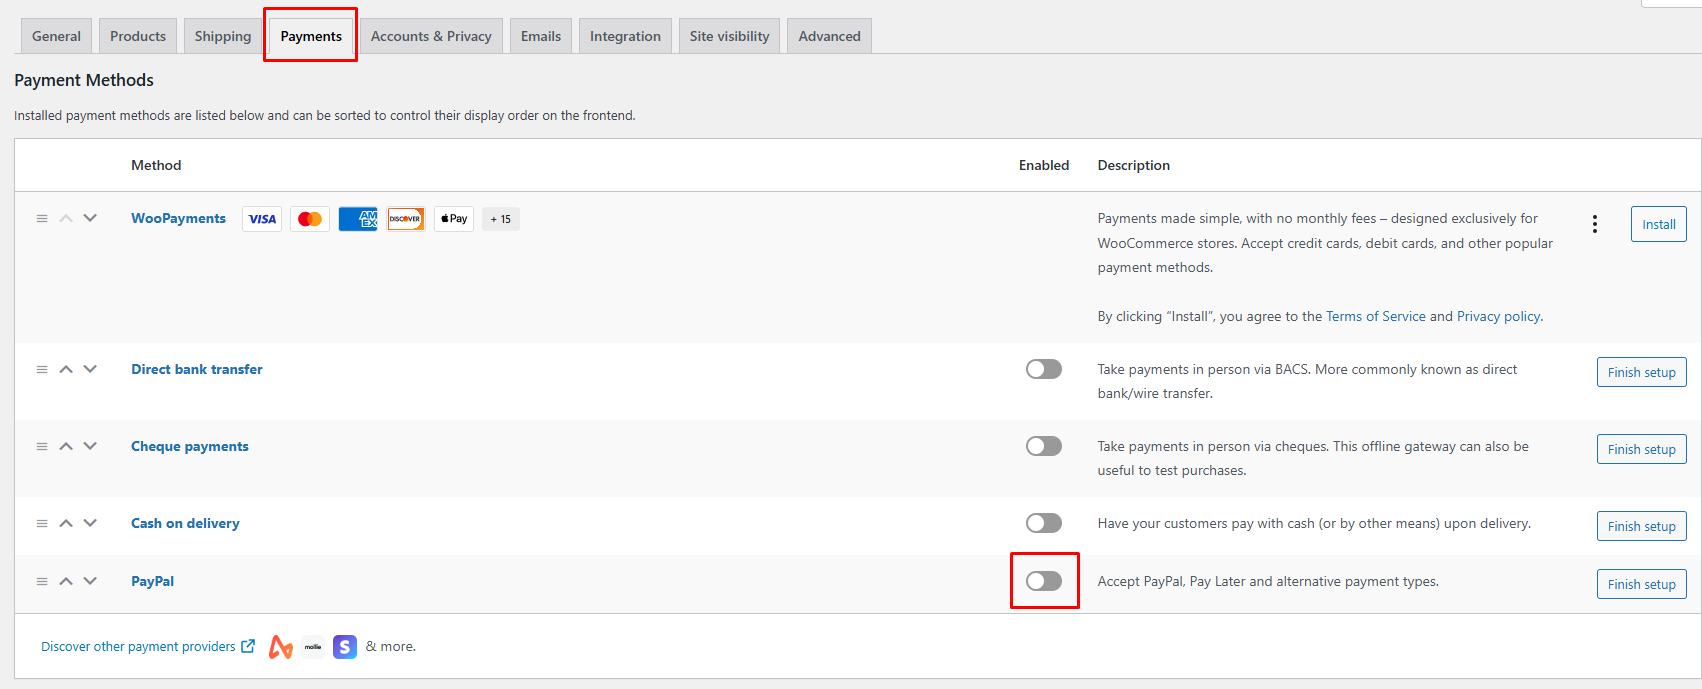
Under WooCommerce > Settings > Payments.
Click the toggle to turn on the PayPal option.
PayPal settings configuration
Clicking the toggle button for PayPal opens up a new tab in front of your screen, asking you to turn it on.
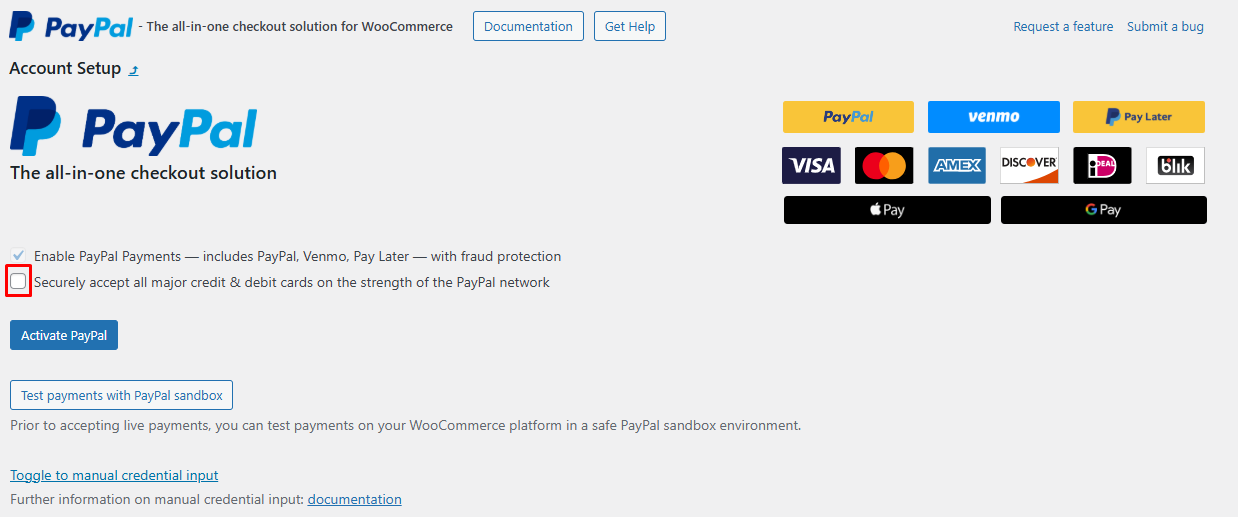
Check the “Securely accept all major credit & debit cards on the strength of the PayPal network” to ensure secure transactions.
Select the options you want for your PayPal integration.
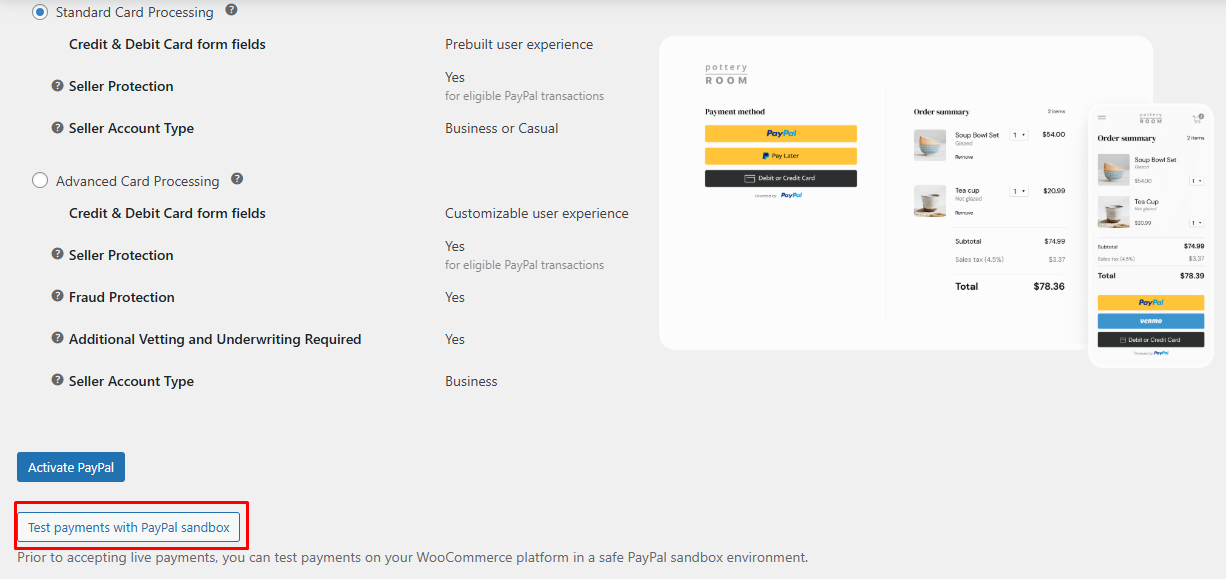
Scroll down and click on “Test Payment With PayPal Sandbox” to test your setup.