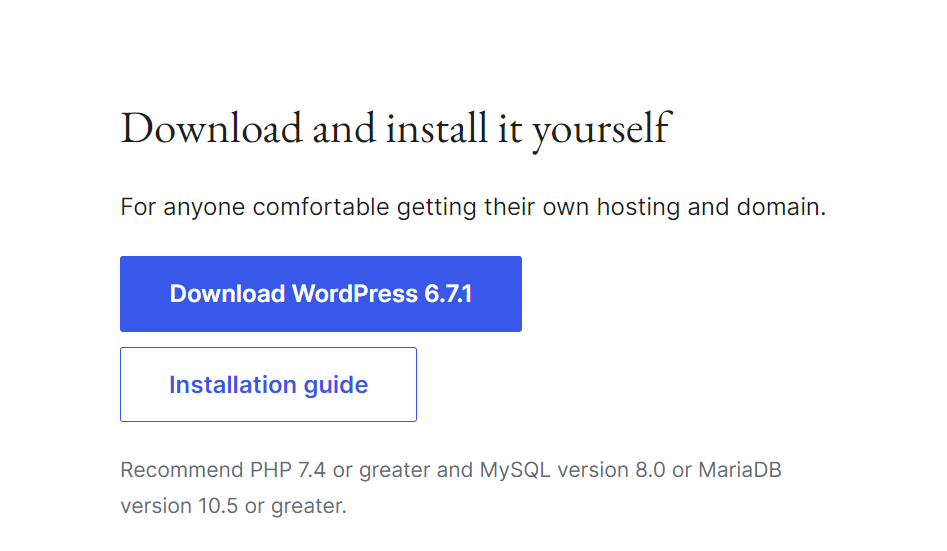
Step 1: Download WordPress
Open the WordPress.org website.
Click the “Download WordPress” button.
Step 2: Set Up a Web Server
You will require a web server to host your WordPress website. Many hosting providers do offer a one-click WordPress installation.
Otherwise:
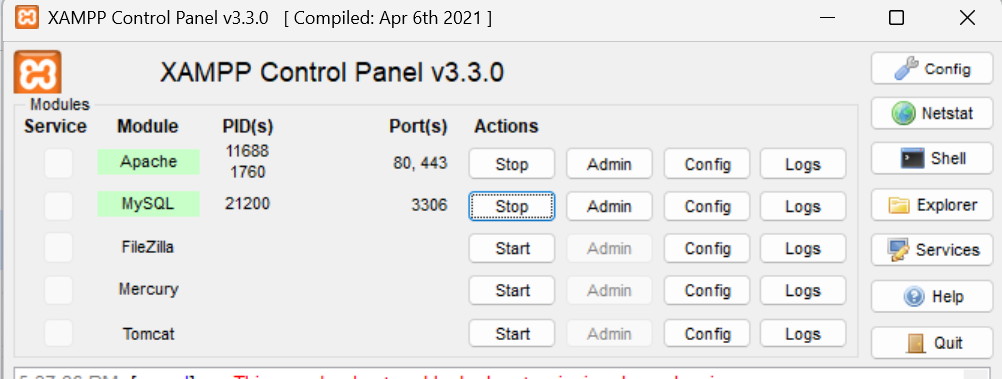
Install a web server such as XAMPP, WAMP, or MAMP to test your WordPress installation locally.
Step 3: Create a Database
Use phpMyAdmin or your hosting provider’s database management tool to set up a database:
Create a new database and name it (eg. wordpress_db).
Set the collation to utf8_general_ci.

Step 4: Upload WordPress Files
Open the WordPress.zip you just downloaded.
Upload those to:
The Public_HTML in your web host, perhaps with an FTP client (like FileZilla); or, if this site is local, into your normal local server folder (for example, xampp/htdocs for XAMPP users).
Step 5: Run the Installer for WordPress
Open a web browser and go to your site address (e.g., http://localhost/wordpress for a local setup or your domain for a live setup).
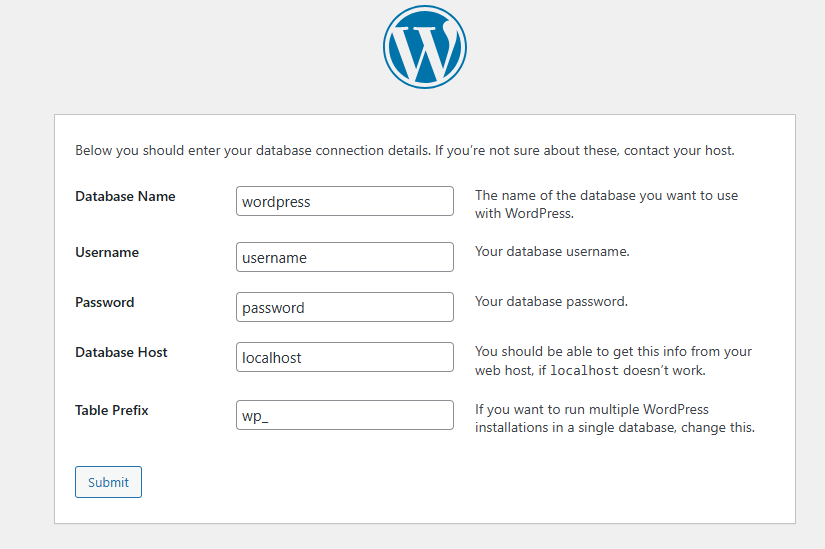
Fill in the database details:
- Database Name: wordpress_db.
- Username: Generally, it is root for a local setup.
- Password: Leave it blank for a local setup.
Submit the details and move on.
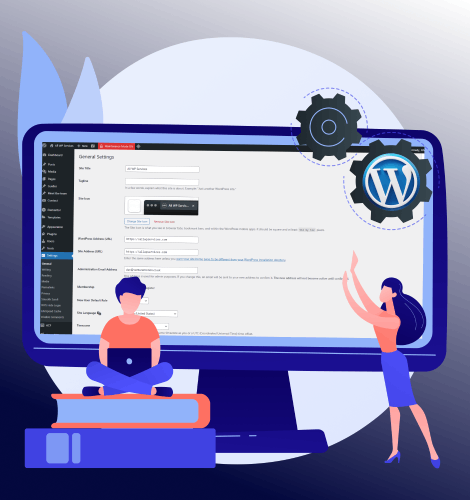
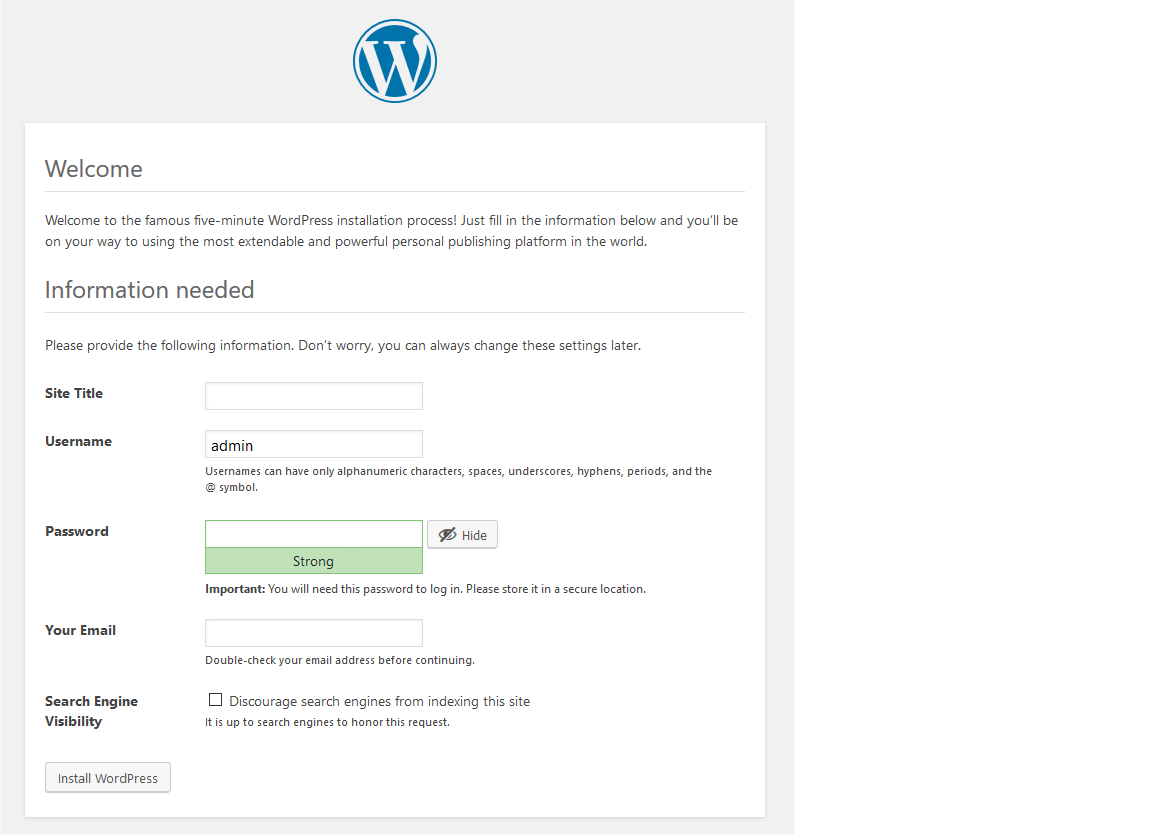
Step 6: Configure Your Site
- Give your site details:
- Site Title: Name of your website.
- Username: The admin username you’ll use to log in.
- Password: Generate a strong password.
- Email: Enter an email address to use for admin purposes.
- Click “Install WordPress” to complete the installation.
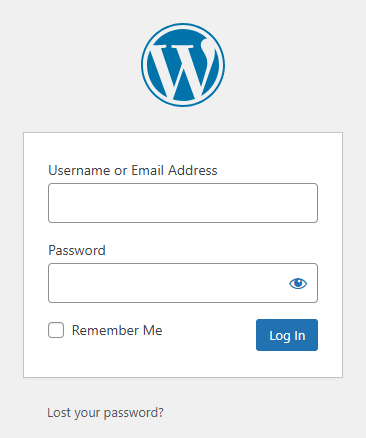
Step 7: Log In and Start Customizing
Visit the WordPress dashboard at http://yourdomain.com/wp-admin.
Log in with your previously set username and password.
You’re now ready to begin building your site!