
This tutorial shows how to change the look of your site by installing a WordPress theme.
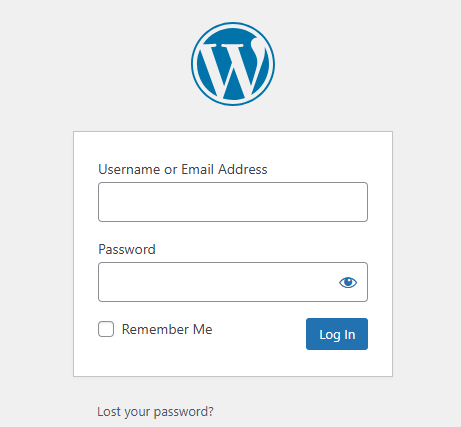
Step 1: Log in to the WordPress Admin Dashboard
- Type in yourdomain.com/wp-admin.
- Log in with your admin username and password.
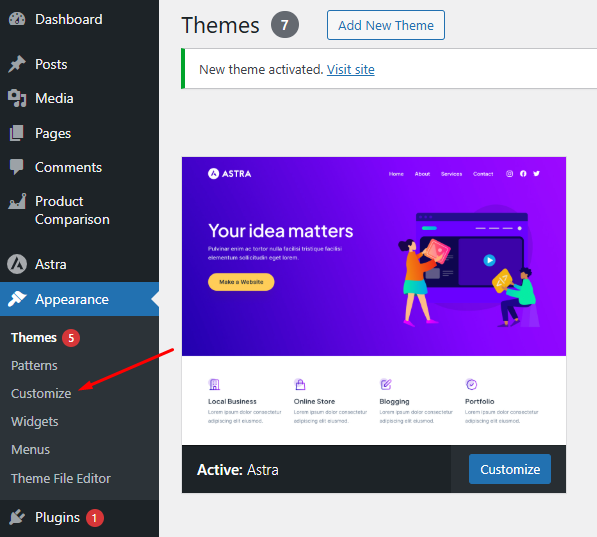
Step 2: Go to the Themes Page
- From the dashboard, click Appearance in the left sidebar menu.
- From the Appearance menu, click Themes.
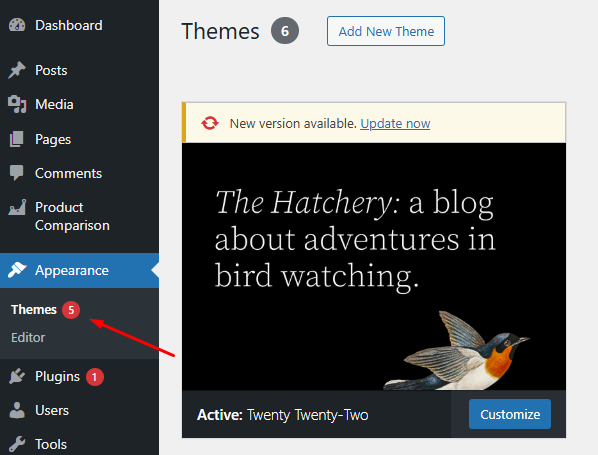
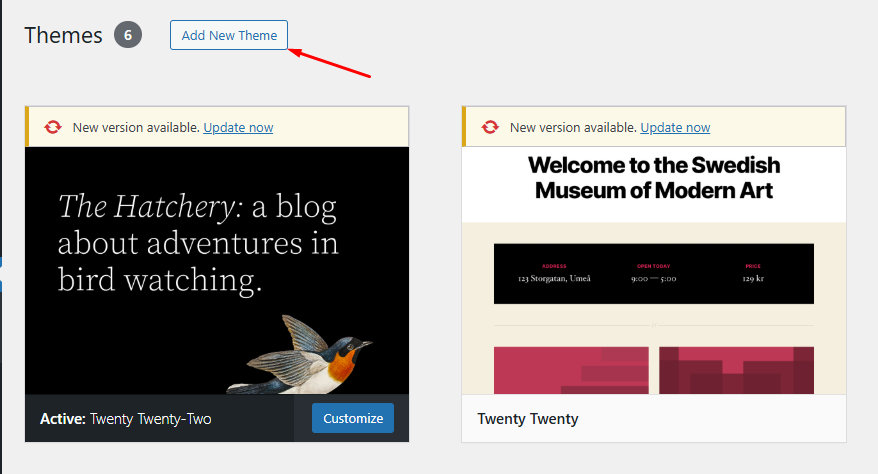
Step 3: Add a New Theme
Click the Add New button at the top of the Themes page.
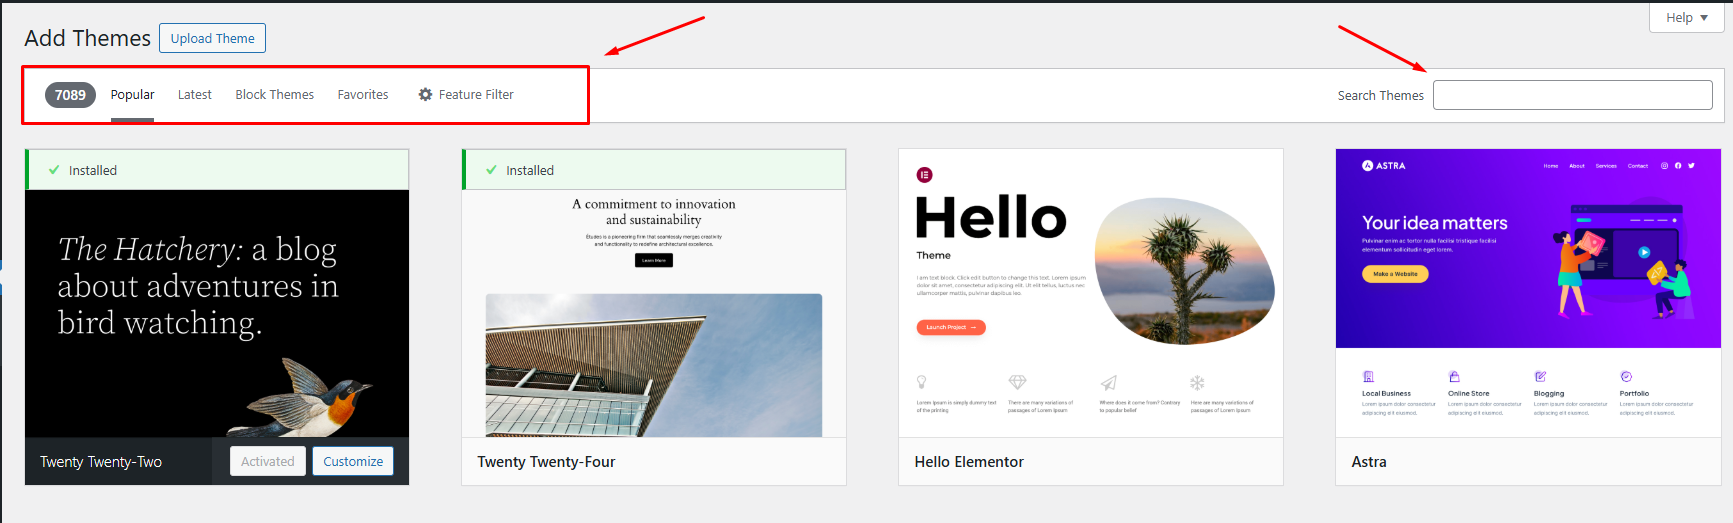
- Browse themes using the search bar, featured categories, or filters.
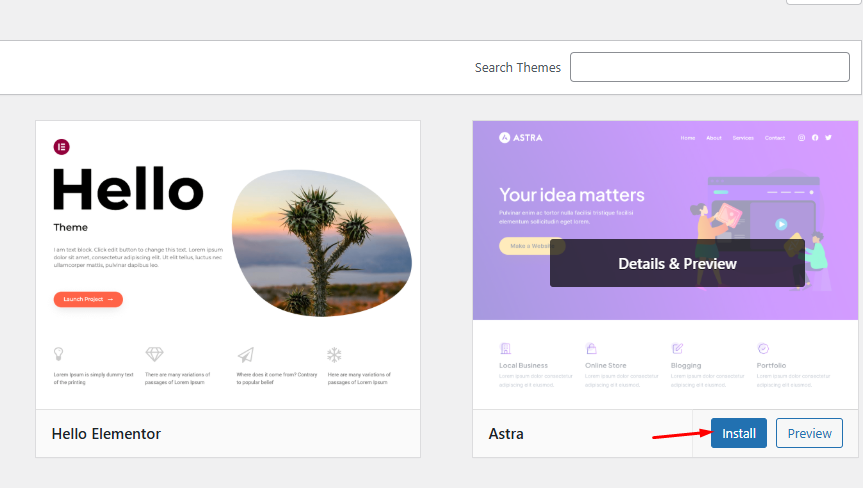
Step 4: Install a Theme
- Hover over the theme you want to use and click Install.
- Wait for the installation to complete.
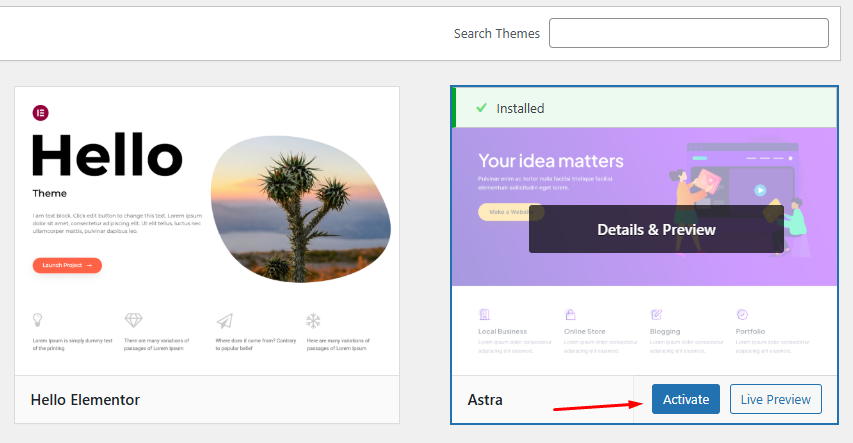
Step 5: Activate the Theme
- After installation, click the Activate button to apply the theme to your site.
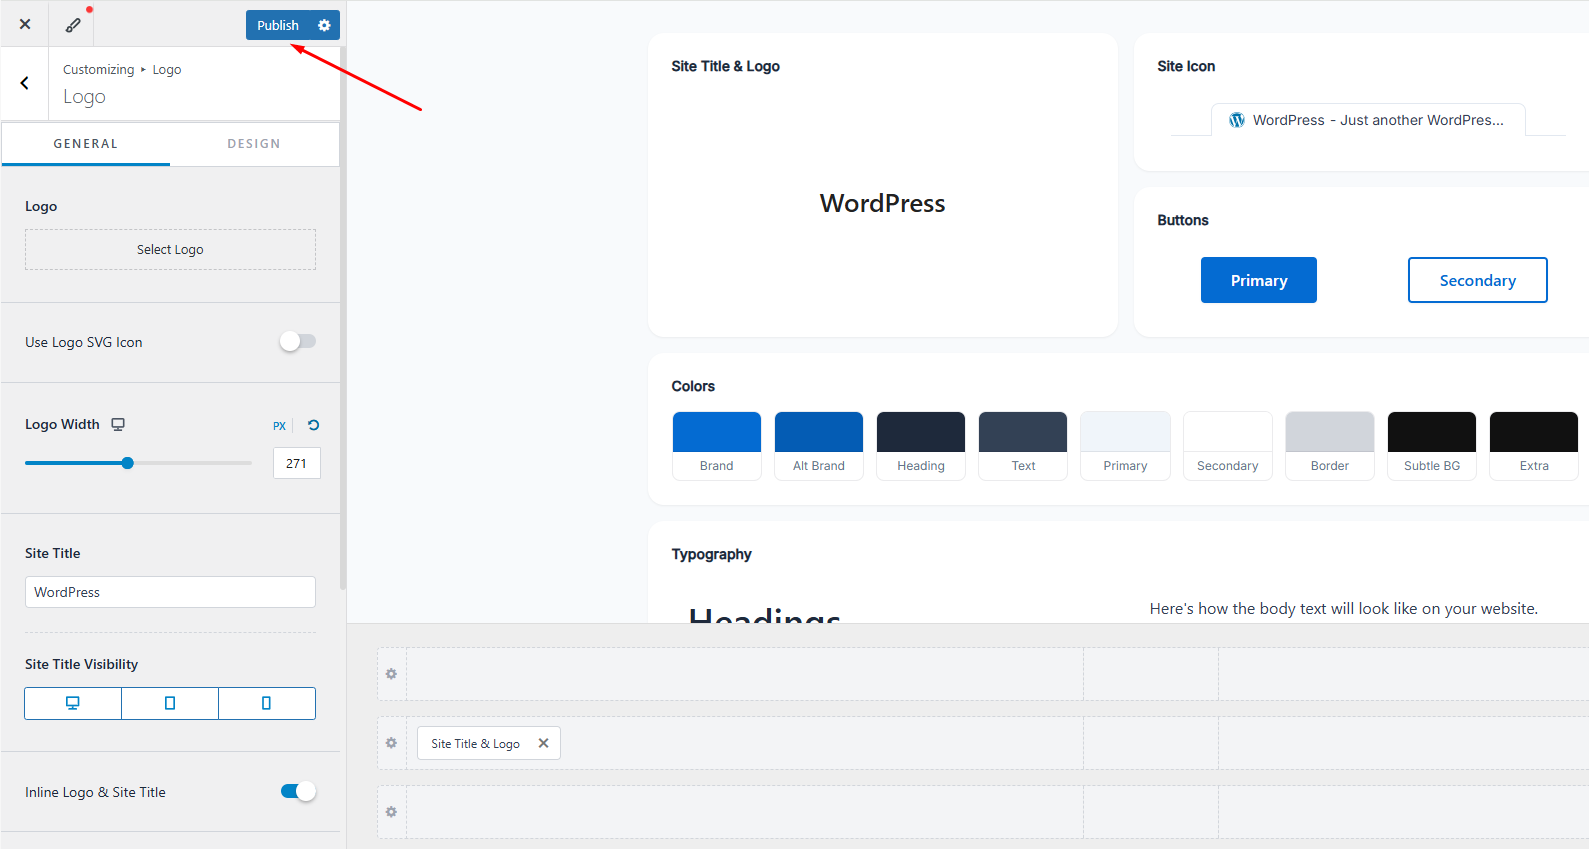
Step 6: Customize Your Theme (Optional)
- Click Customize under the Appearance menu.
- WordPress Customizer can be used to customize:
- Site Title and Tagline
- Colors
- Header Image
- Widgets
- Save changes when finished